
Most painting projects skip the prep work and regret it later. Your walls deserve more than a quick clean and slap of paint. A solid paint prep process sets the stage for a smooth finish that lasts years, covering everything from drywall repair and patching to primer application. Keep reading to see what true professional surface preparation looks like in Chattanooga. Schedule your free on-site estimate and prep consultation today. Our bilingual, owner-supervised team is ready to help. https://rickivazquezpaintingandremodeling.com
Essential Steps in Paint Prep
Getting your walls ready is the backbone of any painting project. Proper preparation ensures a flawless finish that stands the test of time. Let’s uncover what each crucial step involves.
Thorough Surface Cleaning
Clean walls are a must before painting begins. Dirt and grime can prevent paint from sticking properly, leading to peeling and uneven coverage. To start, remove dust and cobwebs with a dry cloth or vacuum. Then, tackle greasy spots, especially in kitchens, with a mix of water and mild detergent. For outdoor surfaces, consider pressure washing services in Chattanooga to remove stubborn dirt. This step is essential for both interior and exterior painting projects, setting the stage for success.
By ensuring all surfaces are spotless, you’ll avoid future paint issues. Most people underestimate this step, but it’s critical for a lasting paint job. Remember, clean surfaces lead to better adhesion and a more vibrant finish.
Repairs and Patching
No wall is perfect, but repairs can make them seem that way. Start by inspecting for cracks, holes, or any damage. These imperfections can ruin the appearance of your new paint. Use a putty knife to apply spackle or joint compound to fill in gaps. Once the compound is dry, sand it down until smooth. This step is crucial for achieving a professional look and feel.
Patching and repairing aren’t just about aesthetics; they protect your walls from further damage. By addressing issues early, you prevent future problems. Don’t skip this step if you want walls that look as good as they function.
Sanding for a Smooth Finish
Sanding is the secret weapon for a smooth finish. It removes old, flaky paint and smooths out patched areas. Use a fine-grit sandpaper and gently sand the walls in a circular motion. This creates a uniform surface that allows paint to adhere better. Don’t forget to wipe away dust after sanding with a damp cloth.
A smooth surface enhances the paint’s appearance, making colors pop and textures even. Many skip sanding, but it’s vital for that flawless finish. Remember, the smoother the wall, the better the paint job.
Primer and Protection

After cleaning, repairing, and sanding, it’s time to prime and protect. This step is crucial for longevity and vibrancy. Let’s see how priming and protection fit into the process.
Applying the Right Primer
Primer acts as a foundation for your paint. It covers stains and seals the surface, ensuring the paint sticks effectively. Choose the right primer based on your wall’s material and the paint color. For instance, a dark wall transitioning to a light color might need a different primer than a light wall. Apply the primer evenly using a roller, and let it dry completely before moving on.
Using primer might seem like an extra step, but it’s key for achieving true color and finish. Most people think paint alone is enough, but primer sets the stage for excellence.
Masking and Covering Areas
Protecting areas you don’t want painted is crucial. Use painter’s tape to mask edges around windows, doors, and trim. Cover floors and furniture with drop cloths to prevent accidental splatters. This step not only saves you from tedious cleanup but also ensures crisp, clean lines.
Taking time to cover and mask properly pays off in the end. It’s about precision and care, ensuring your paint job looks polished and professional.
Final Preparations
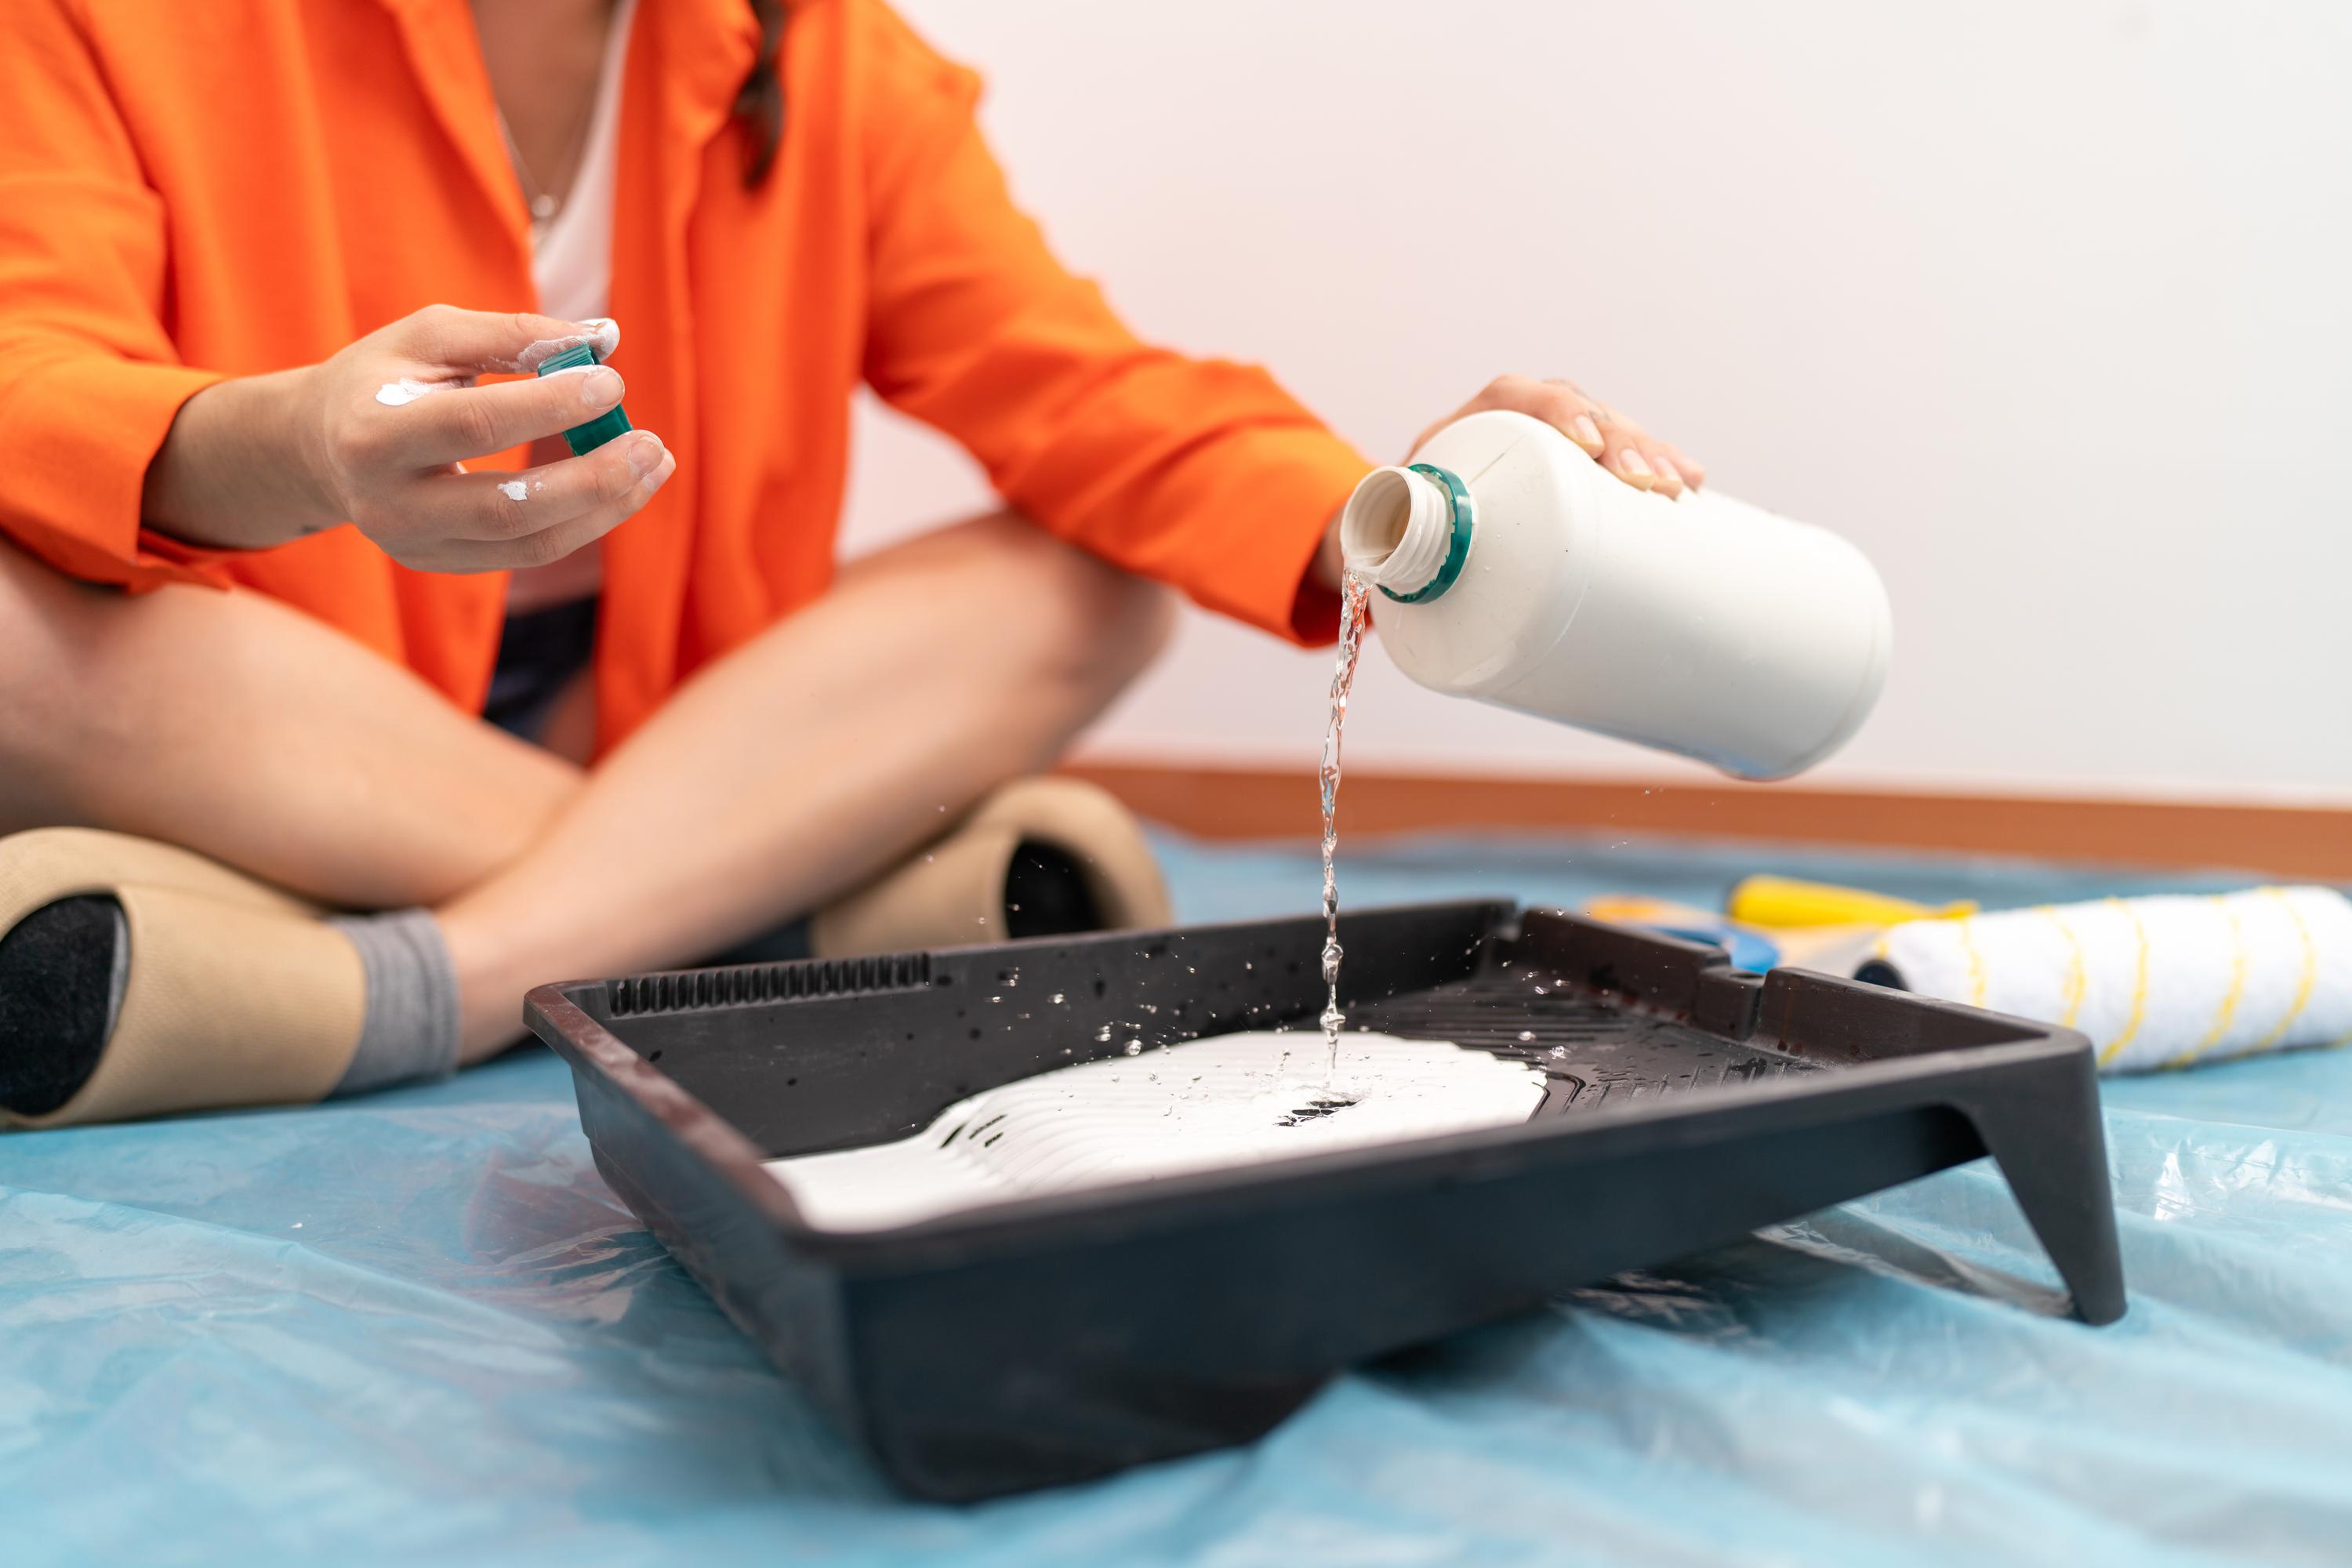
With everything primed and protected, you’re almost ready to start painting. But first, let’s wrap up with some final checks and plans.
Final Inspection and Touch-ups
Before painting, inspect the walls for any missed spots or rough areas. Make touch-ups as needed to ensure a perfect canvas. This final check prevents small issues from becoming big headaches later.
A thorough final inspection shows the difference between good and great. Attention to detail here can elevate your project to professional quality.
Communicating Project Timelines
Clear communication is key to a smooth project. Discuss timelines with your painting contractor to set realistic expectations. Understanding the stages helps you plan accordingly and minimizes disruptions. Ricki Vazquez Painting and Remodeling offers owner-supervised service, ensuring timelines are met and quality is maintained.
Knowing what to expect keeps you in control and reduces stress. Don’t underestimate the value of a well-communicated plan for a successful project.
Frequently Asked Questions
What is the best way to clean walls before painting?
Clean the walls with a mix of water and mild detergent, especially in kitchens. Use a vacuum or dry cloth on dusty areas. For exteriors, consider pressure washing.
Why is primer necessary before painting?
Primer provides a base for the paint, ensuring better adhesion and color accuracy. It also covers stains and seals porous surfaces, enhancing the final finish.
How can I ensure crisp edges when painting?
Use painter’s tape to mask edges around windows, doors, and trim. Ensure the tape is pressed firmly to prevent paint from seeping underneath.
How do I fix cracks and holes in walls before painting?
Fill cracks and holes with a spackle or joint compound using a putty knife. Once dry, sand the area until smooth, then clean any dust before painting.
Why is sanding important before painting?
Sanding removes old, flaky paint and smooths patched areas, creating a uniform surface for paint to adhere to. It enhances the overall appearance and longevity of the paint job.